Advertisement
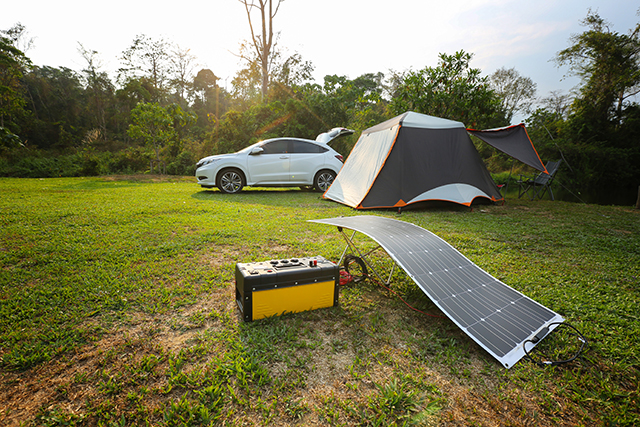
A solar power box is an absolute must-have for emergencies or when you have to bug out. A portable one is 10 times better whether you have an emergency or not. Sooner or later, you will find yourself in a place or situation where you desperately need to use an electrical or electronic device but you have no source of electricity whatsoever. (h/t to GrayWolfSurvival.com.)
A good portable solar power box can set you back at least $2,000. You, on the other hand, can make one with materials you can find in your house. It’s very affordable and simple enough to put together by someone who isn’t a mechanical or technical expert.
Parts of solar power box
The main parts of a solar box consist of:
- A battery
- A solar panel
- A solar charge controller
- An inverter
- The basic concept underlying a portable solar power box is simple: get 12 volts into batteries to charge them, and get AC out with an inverter. You can also get 12V DC out by using
- various connectors, including USB.
In the simplest terms, as long as you put a charge controller between the solar panel and the battery, and connect all red wires to red plugs or sockets and black wires to black wires or sockets, your power box should work.
There are other parts you can add to make your power box work more effectively, such as:
- A trickle charger
- Jumper cables
- A female 12V plug
- A 12V cigarette lighter USB plug
- An AA battery charger
- A multimeter
- Tools, like wrenches, wire cutters and pliers
- A box that fits all of the above
What to consider
As you begin putting your power box together, there are essentially five things you need to think about:

Power in
You need to get 12V into your batteries to charge them. AC from your wall socket using a trickle charger is the most convenient way to charge them. The next most convenient way is through DC. A pair of jumper cables hooked to a running car or other 12V power source works well. Solar is great because it’s free energy. The problem with it is that it doesn’t do very well on cloudy days and does nothing at night.
Power stored
The batteries will be the heaviest part of the system and could be the most expensive. You need to look at the amp-hours (AH) you will need. An 18AH battery will run for 18 hours at one amp of output. If you don’t know how many amps you’ll be drawing from the battery, you can calculate it by knowing the watts. If you have something that draws 120 watts at 12 volts, then you’ll be drawing 10 amps (120 watts divided by 12 volts = 10 amps).
Power out
Getting 110 AC out of a 12V battery is pretty easy – you just connect an inverter to it. The red wire goes to the positive and the black wire goes to the negative.
There are many different kinds of connectors to 12V out to your equipment, but at least have a 12V male and 12V female connector. If your inverter doesn’t have a USB output, you could just plug in a 12V USB connector because it uses less energy.
Portability
You need some kind of box to put in all the equipment above and make your system portable. A dry seal box is ideal. If your power box is on the heavy side, a luggage cart could help.
Monitoring and maintenance
You should have some kind of way to measure the voltage of your batteries so you know how much you have left. A decent rule-of-thumb is things stop working at about 10.5 volts. A multimeter will allow you to easily check the voltage, plus troubleshoot things like bad connectors or faulty equipment.
Keep a set of all the tools you’d need to fix or replace any part of the system. You at least need wrenches to take the batteries out. You might also want some extra wire, wire cutters, pliers, wire connectors, and other tools you may need.
A lot of your choice for the equipment you put in your system comes down to your power requirements. Your battery needs to have enough amp-hours to run your inverter at the level it does while it’s running your equipment. Your solar panel needs to have enough power to replenish that usage using only the sun it can, which is about five hours per day – more in cloudy places. Your charge controller needs to be efficient and be able to handle the power it’s given.
With these things in mind, you should have little trouble in making your own portable solar power box.
Sources include:
Submit a correction >>
This article may contain statements that reflect the opinion of the author
Advertisement
Advertisements


