Advertisement
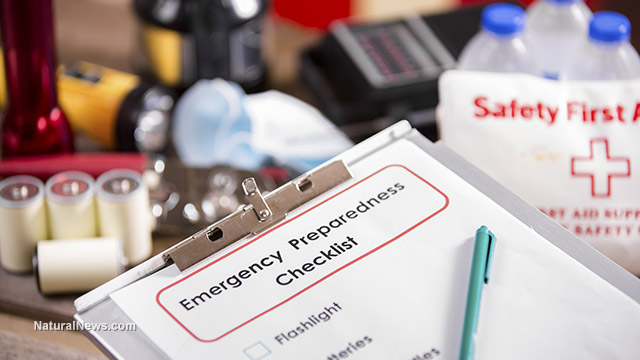
Even the most basic survival skills, like sewing, will be incredibly useful when SHTF. If disaster strikes, do you know how to repair damaged clothing or gear? (h/t to SurvivalSullivan.com.)
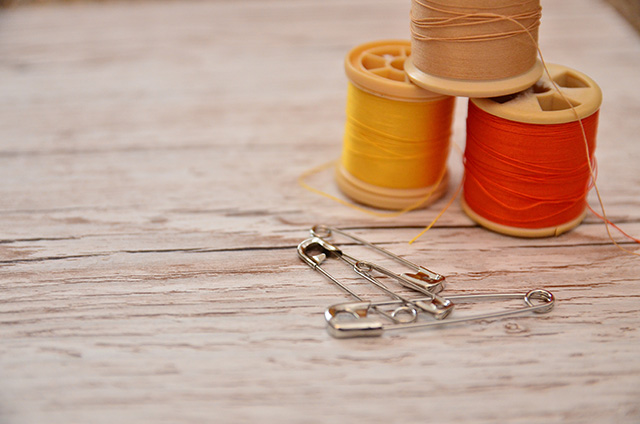
Sewing equipment basics
By having the right materials on hand, or if you know how to improvise, you will have the means to repair or even make new clothing.
Every sewing kit requires some needles, but there are different types of needles for various tasks. Standard needles/”sharps” are often included in cheap sewing kits and they’re suitable for quick repairs. However, these needles may be necessary when you’re sewing dense fabric or heavy materials.
- Glover’s needles – These are curved, C-shaped needles specifically used for stitching seams in the backs of gloves.
- Leather needles – These are used for sewing leather, but you may need them if your own kits made of heavy nylon or leather.
- Sack needles – These large, curved needles have an extra-large eye. Sack needles are used for repairing fabric on-the-go.
- Sailmaker’s needles – Sailmaker’s needles are tough and easier to grip since they have a triangular cross-section at the tip. They’re pricier than other needles but they’re a must in your survival sewing kit.
Accessories, or “notions,” are small tools that come in handy when you’re sewing. Not everything in this list should be in your bug-out bag (BOB), so try some of them to figure out what you’re going to need.
- Pin cushion – This will help you keep pins in place if you’re sewing.
- Snips – Snips look like tiny sprung scissors and they’re designed to function like the scissors on a Swiss Army knife. You may need snips if you don’t have a pocket knife.
- Straight pins – You’ll need straight pins to keep the material in place when you’re sewing. When not is use, store pins in a small container, like an old film canisters.
- Thimbles – A thimble is a metal guard that fits over your finger or hand. This protects your finger if you need to apply more pressure to a needle. Get several thimbles in sizes that fit different fingers.
- Wax – This is used to wax your thread, which is necessary when working on heavier seams, or seams that have to be waterproof.
- Thread – Keep several sizes and types of thread in your sewing kit, like threads of a dark color, a light color, and threads of different weights. Consider adding braided thread, Kevlar thread, and pre-waxed threads (or you can wax your own) if there’s enough space in your kit. (Related: If you had to, could you make your own shoes and clothes? Tips for rediscovering those skills.)

While you can buy ready-made sewing kits, it’s better to prepare your own kit, especially since you can choose to include sturdier materials that you know you’re going to use.
Work “outwards” instead of “inwards,” or gather your equipment and materials, then decide on a case for the items. Here are some items that you may need in your sewing kit:
- Awl – This is used to make holes without cutting the fibers in your material.
- Leatherwork needles (if you have a leather kit)
- Pins
- Sailmaker’s needles – For materials like felt or nylon.
- Sharpening stone – Use this to keep your needles in good condition. The same sharpening stone you use on knives will do.
- Shoe glue
- Standard needles
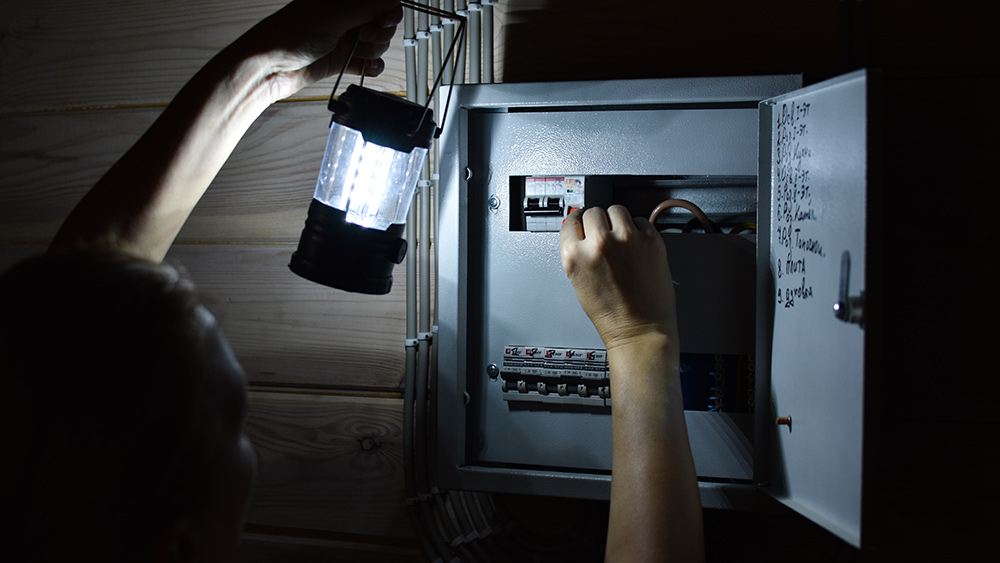
Keep these tips in mind when you’re prepping for a survival scenario. Remember that a sewing kit can help you keep your clothes and gear in working condition when SHTF.
How to sew a running stitch
Different materials and seams need different stitches. Take note that shorter stitches make a stronger seam, but longer stitches are faster to sew.
The running stitch is the most basic stitch. This stitch is suitable for light materials and seams that don’t bear too much strain since it isn’t a particularly strong stitch.
- Push the needle through the fabric, and keep pushing while the needle is angled upwards. Once the needle comes out of the material again, turn the fabric over and push it through again.
- Pull the needle through from the other side while also pulling the slack thread through the material.
- Repeat these steps along the seam. The finished stitch should look like a dashed line.
Learn more about basic sewing techniques that you might need to know when SHTF at Gear.news.
Sources include:
Submit a correction >>
This article may contain statements that reflect the opinion of the author
Advertisement

Advertisements


NewsTarget.com © 2021 All Rights Reserved. All content posted on this site is commentary or opinion and is protected under Free Speech. NewsTarget.com is not responsible for content written by contributing authors. The information on this site is provided for educational and entertainment purposes only. It is not intended as a substitute for professional advice of any kind. NewsTarget.com assumes no responsibility for the use or misuse of this material. Your use of this website indicates your agreement to these terms and those published on this site. All trademarks, registered trademarks and servicemarks mentioned on this site are the property of their respective owners.
