Advertisement
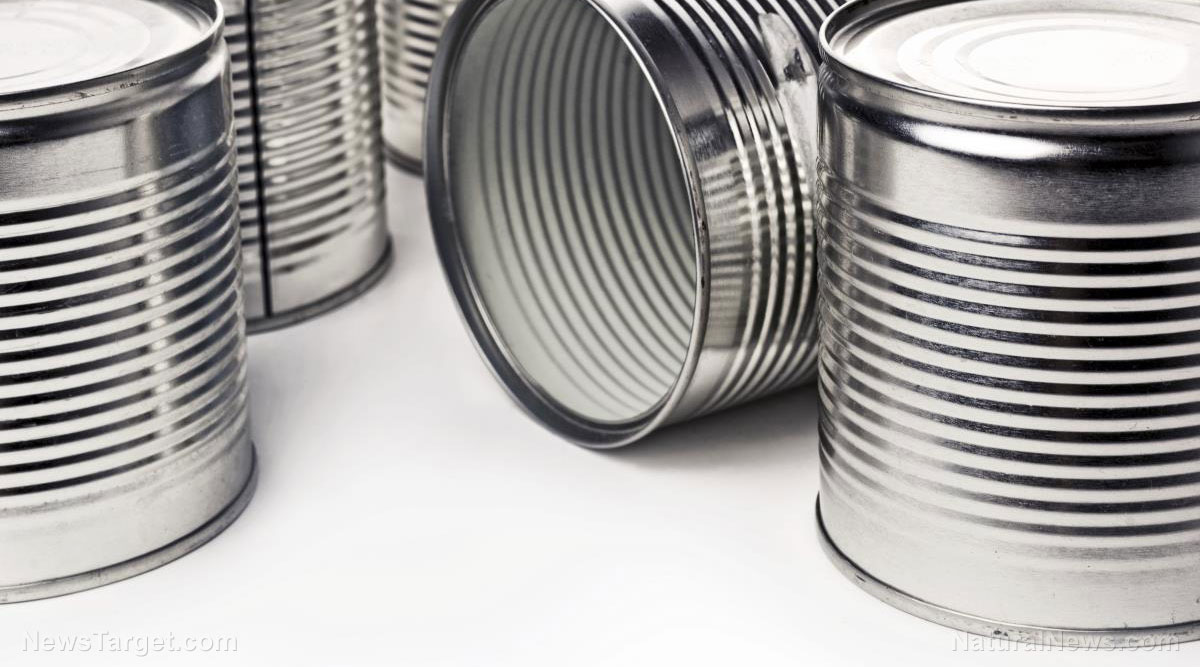
When it comes to prepping, every item, like the humble #10 can, has several uses. For one, you can even use a #10 can to make a versatile can oven. (h/t to TheSurvivalistBlog.net)
Making your own #10 can oven
If you’re looking for a way to recycle and at the same time save some cash, the #10 can oven is right up your alley. The #10 can oven is perfect if you want to learn how to make SHTF food-ready items using your wood-burning stove.
To turn the can into a makeshift oven, follow the steps below:
- Stoke the fire in your wood-burning stove ahead of time so it’s nice and hot once you’re done preparing the can oven.
- Remove the lid/top of the #10 can, then carefully trim at least 1/4 of an inch from it. You can use the trimmed lid later as a cooking plate with the empty can inverted on top of it.
- For a trivet you can use a 7.5-oz salmon or tuna can.
- Put a couple of tablespoons of water on the 7.5-oz can trivet, then place the can on top of your wood-burning stove.
- Cover the cooking plate with foil, place your pre-made dough on it, then balance the cooking plate on the trivet. Slowly place the inverted #10 can over the trivet and cooking plate.
- Wait for about 15 minutes, give or take, then your mini bread loaf should be done. If you have enough dough left over, refill the water in your can trivet, grease the lid cooking plate, and start a second batch of bread.
- This second batch will probably take faster than 15 minutes since your #10 can oven will still be warm from your first batch of mini bread loaf.
Take note that if you forget to refill the water in your can trivet, the bread may turn a bit tough. Experiment with recipes for bread, potatoes, or mini-pizzas, and factor in the smaller cooking space that you’ll have with your #10 can oven when measuring the ingredients. (Related: How to make a nutritious superfood for survival that lasts decades.)
You can start with a basic bread recipe, then adjust the measurements as you bake until you get the perfect measurements suited to the #10 can oven. Since you’re steaming the bread as it bakes, the final product will have a consistency similar to both a bagel and a muffin.
If you’re a fan of flatbread and you own two same-sized skillets, you can also cook on a makeshift Dutch oven. Just set one skillet on your stove, then invert the other one on top of the first skillet. Now you can start making your own flatbread and small pizzas.
Because you’re recycling #10 can and a 7.5-oz can for this oven, you won’t have to spend a single dime. Using the money you save by baking your own bread, you can buy more food for your stockpile or other survival gear that you might still need.
With your creativity, you can turn anything into whatever you need, as preppers often do.
Other uses for #10 cans
If you have spare #10 cans, you can also use them for other survival purposes, such as:
- A cooking pot – If you’re cooking over an open flame, you can use a #10 tin can as a handy cooking pot. With a wire handle, you can hang the can over the fire if you need to boil some water.
- Secret storage – Using the can, scoop some dirt out of a hole big enough to put the can in. Plant the can in the ground and use it to hide an extra set of keys or some emergency cash, then cover it using the can lid or some plastic. Hide the can with some soil or a big enough rock, but don’t forget to mark it secretly so you can come back to it if you need to.
- A scoop shovel – An empty can without a lid is a suitable makeshift scoop shovel. It’s not the best digging tool, but it will do in a pinch.
- A water filter – When SHTF, you can use a tin can as an emergency water filter. It’s not the ideal filter, but it will do in a survival situation. Turn your can into a water filter by puncturing some holes in the bottom and filling it halfway with layers of gravel, sand, and pebbles. When you need to drink, pour water over the filter so you can gather filtered water for boiling.
To read more articles about other multipurpose survival items, visit Preparedness.news.
Sources include:
Submit a correction >>
This article may contain statements that reflect the opinion of the author
Advertisement
Advertisements


