Advertisement
When SHTF, do you have access to several cooking methods? Or will you have to worry about how you’re going to cook your food when you lose power or run out of gas?
As a prepper, you need to make sure that you have several options when it comes to cooking preparedness. Consider getting some stoves that run on different kinds of fuel, such as butane or wood stoves. (h/t to ModernSurvivalBlog.com)
Five types of stoves for cooking preparedness
The Svea 123 stove has been in production since the late 1800’s. It’s highly recommended because it’s sturdy and versatile. Learning how to use it might take a while; you can check some how-to videos if you need help setting it up.
If you have the means to do so, keep one or more stoves in your stockpile along with the required fuel. But remember that if you’re opting to use stoves that run on butane, gasoline, kerosene, or propane, the fuel will cost you. To avoid this, stock up on fuel whenever you can. Additionally, you will have to plan for the day when you eventually run out of fuel. (Related: How to cook inside, with no smoke, without gas or electricity.)
The Butterfly kerosene stove is not a camp stove. It’s a kitchen stove that is suitable for off-grid use. You can get a two-burner model so you can cook two dishes at the same time if you want to have that option.
A butterfly kerosene stove will use up a bottle of fuel for every 12.5 hours of use. At full burn, this stove can run for about 12 hours on a tank. With a gallon of kerosene, you can cook for at least a month even if you cook frequently.

It’s easy to stock up on kerosene because it doesn’t leak and it’s “a fairly shelf stable fuel to store.” With stabilizer, kerosene will have a shelf life of at least 10 years. Kerosene, like all fuels, is not allowed in storage units or apartments.
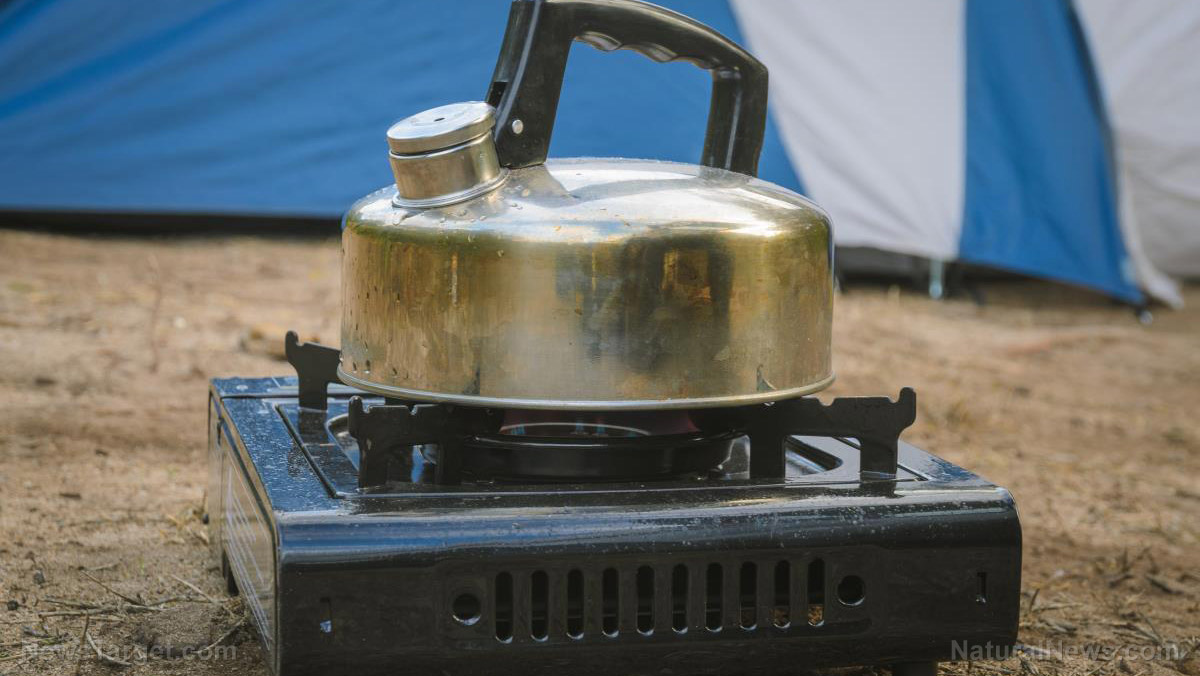
Both propane and butane stoves are similar to a natural gas kitchen stove. Simply turn the knob, light it, and cook like you usually do. It’s also easy to adjust the flame. Both options have pros and cons.
A propane stove is perfect for cold weather since propane’s under 125 pound-force per square inch (psi) and it can pump fuel even if it’s cold outside. On the other hand, propane requires heavy metal canisters.
A butane stove doesn’t work that well when the weather’s cold because butane has a lower pressure (somewhere around 20 psi). Butane comes in lightweight tin canisters that are easy to carry, making butane popular with backpackers.
On the downside, butane canisters tend to be proprietary in nature and brands often make canisters that only works on their stoves. You’re going to need another cooking option since after several years manufacturers might cease the production of stoves and canisters.
If you’re getting a wood stove, fuel won’t be one of your problems if you’re in a wooded area. Even if wood backpacking stoves are heavier than other options, especially if you carry it in a backpack, they’re worth lugging around because you can just gather wood if you need to cook. This is going to be a problem if you use gas-powered fuels because even though the stove is lighter, it’s fuel will be much heavier.
Alcohol stoves are the second best option next to wood stoves. Majority of alcohol stoves have zero moving parts, making them incredibly sturdy. Don’t forget that these stoves run on denatured alcohol, not rubbing alcohol. Rubbing alcohol won’t burn well because of its water content.
Denatured alcohol is widely available in many stores, especially in the paint department. You can use any brand as long as “denatured alcohol/stove fuel” is printed on the can. Sealed cans or gallons of denatured alcohol will last for years as long as they’re tightly sealed. You can also safely use denatured alcohol stoves indoors since the denatured alcohol doesn’t produce explosive fumes. If you do encounter a fire, you can put it out by throwing some water on it.
Let’s not forget the oldest SHTF cooking method in the book: The reliable campfire. Make sure that you learn how to start a fire before you’re facing a survival scenario so you’ll have several cooking methods to choose from if you ever lose electricity and fuel when disaster strikes.
How to make a DIY fire starter
Here’s an easy guide you can use to make a DIY fire starter:
Items needed:
- Candle
- Cotton ball
- Wax paper
- Wax warmer
Steps:
- Plug in the wax warmer. Break up the candle and place the pieces in the wax warmer dish.
- Once the wax melts, lightly dip a cotton ball in it. Make sure you cover the outer layer of the cotton ball with a thin layer of wax.
- Put the cotton ball on the wax paper until it is completely dried.
- Once the wax on the cotton ball is dry, rip the wax-dipped cotton ball in half. You can now use it as a fire starter. Check if its center is wax-free so its easy to light.
You can learn more about stoves and cooking preparedness at Gear.news.
Sources include:
Submit a correction >>
This article may contain statements that reflect the opinion of the author
Advertisement
Advertisements


