Advertisement
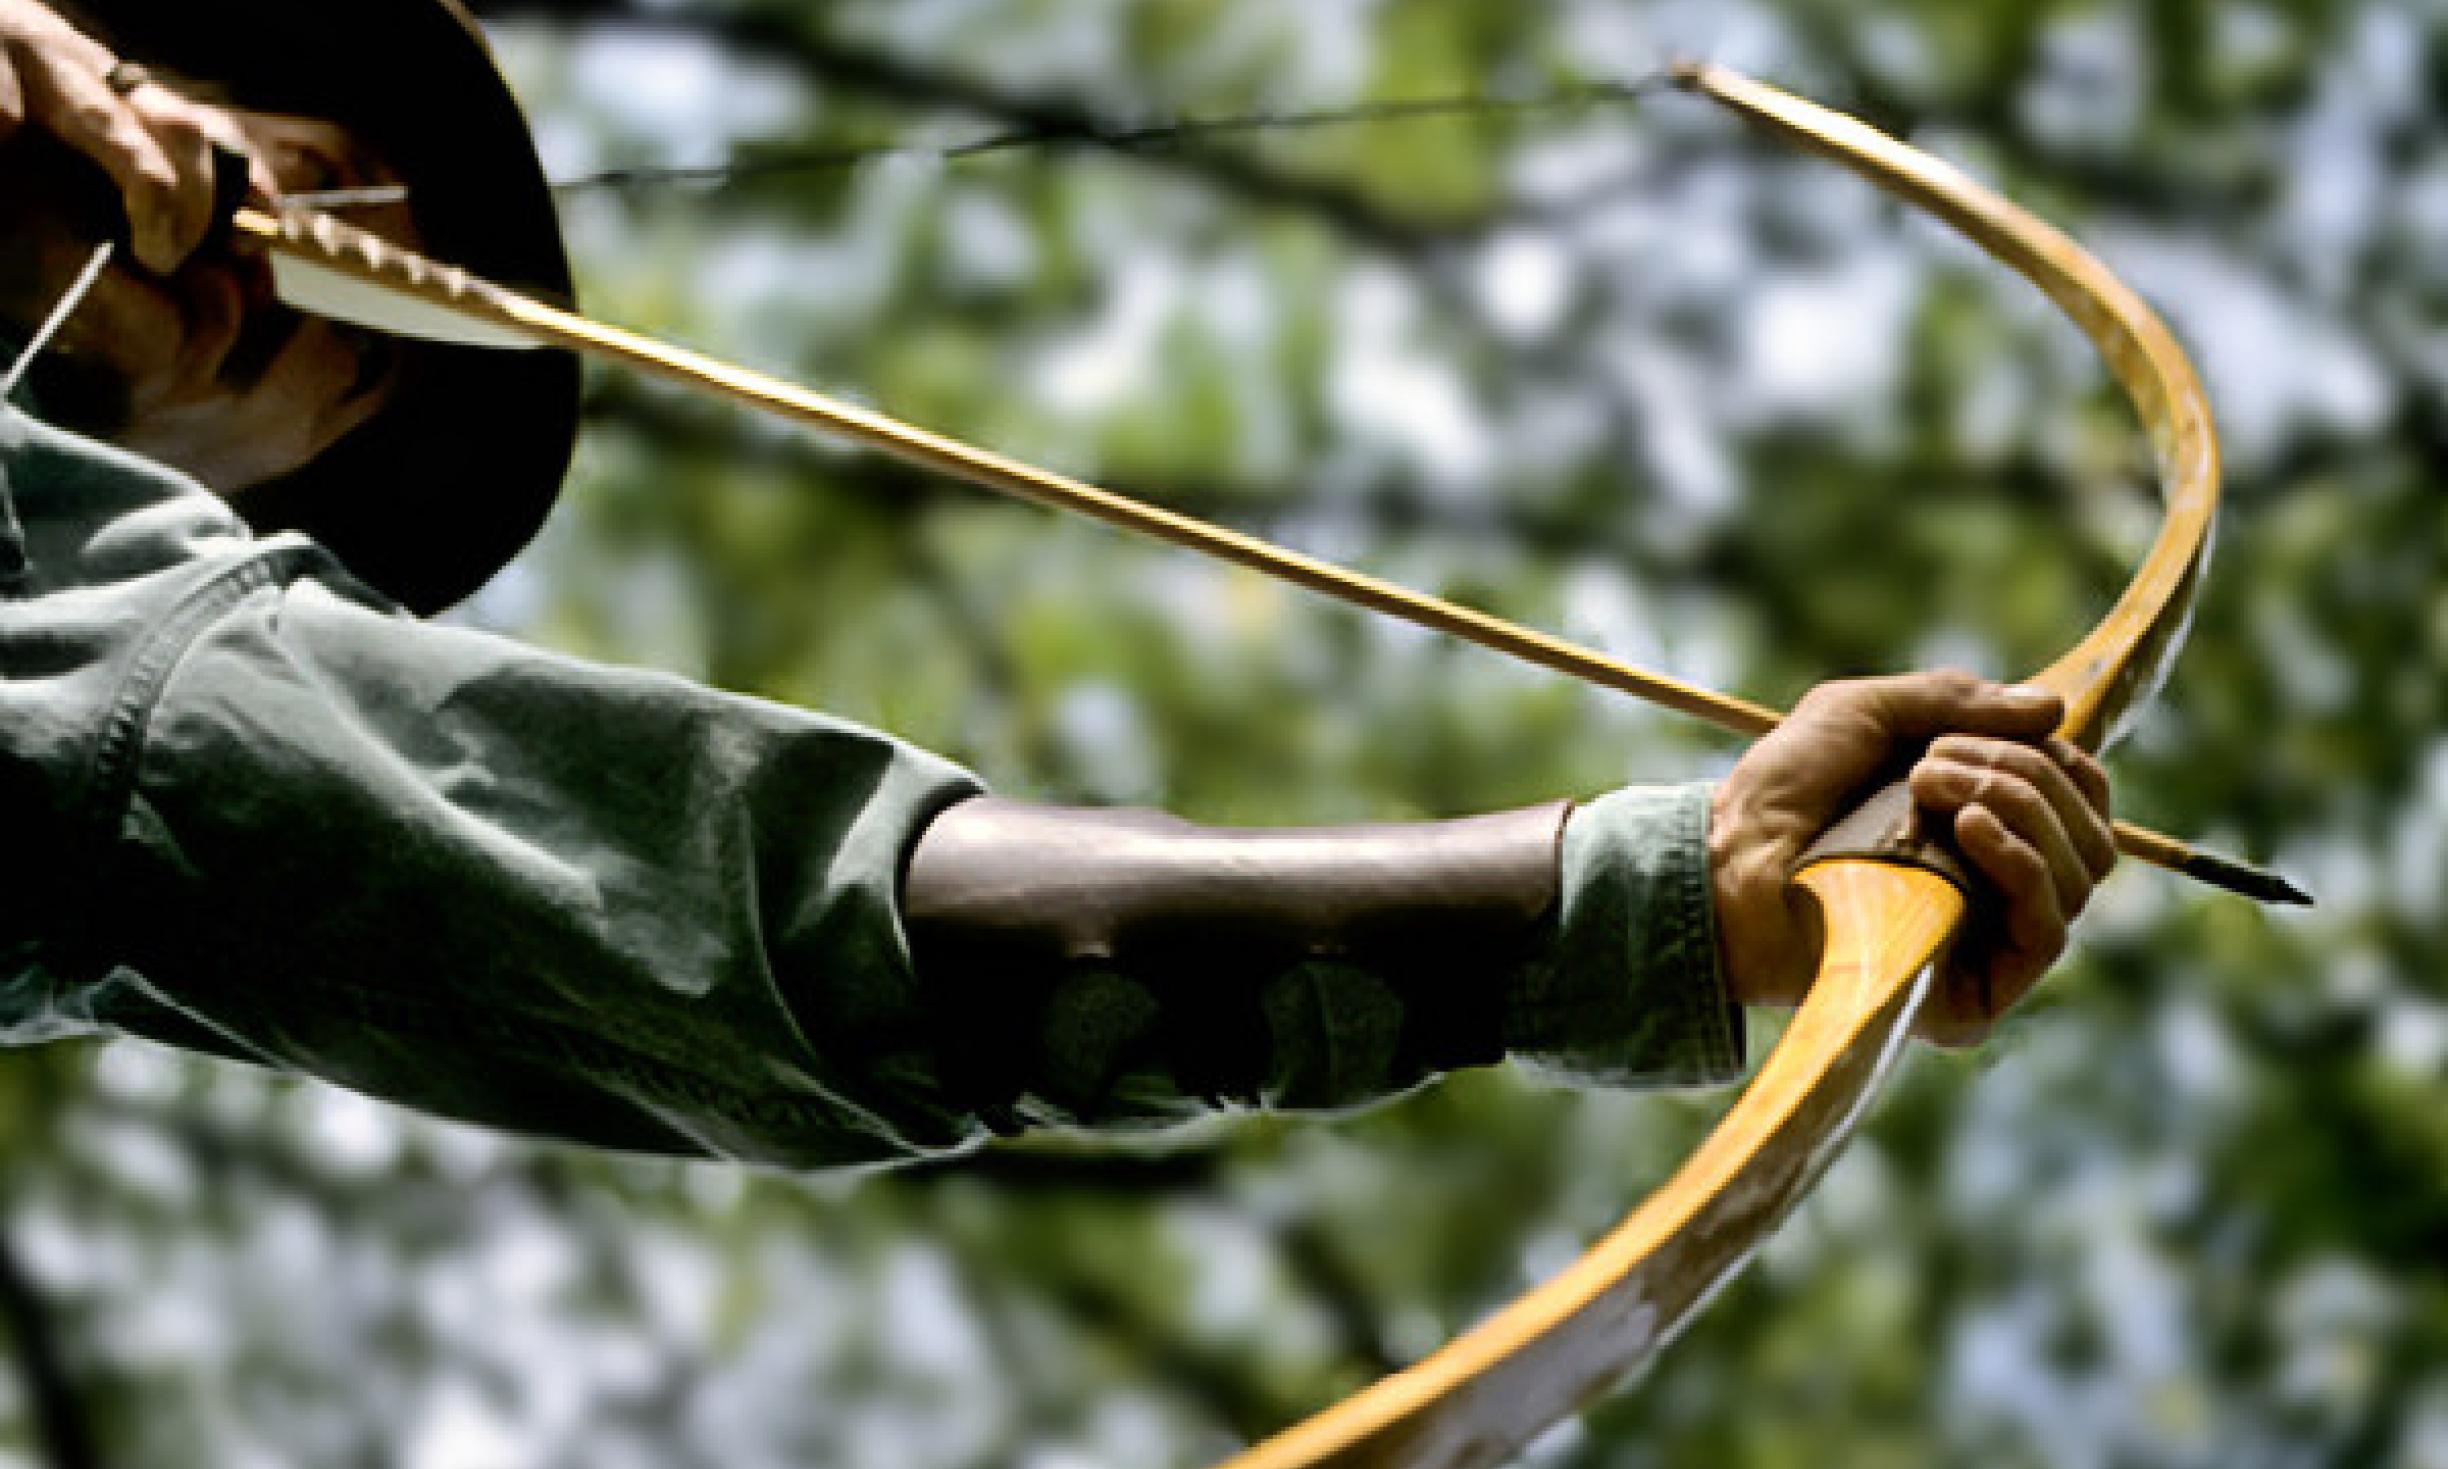
If you ever find yourself in the middle of a survival situation, it may be worth your time to consider crafting your own bow for hunting and self-defense, especially if you don’t have access to a firearm. As you can imagine, creating a bow is no easy task. It will force you to spend a significant amount of time and energy, so it’s up to each individual survivalist to determine whether the extra effort is worth it. But if crafting a bow is something that you think would be in your best interest, then consider the following steps that were originally outlined in an article published on Survivopedia.com entitled “How To Make A Survival Bow In The Wilderness.”
Choose your materials
Given the fact that wood only has an elasticity of around one percent, it’s absolutely essential that you find the right kind of wood for your bow to avoid cracking. Some good species that you should consider include Serviceberry (part of the rose family that is found in every single U.S. state except for Hawaii), Mountain Mahogany (another member of the rose family found primarily in the Western United States and Mexico), Ash (of the olive family found in various parts of North America, Europe and Asia), and fruit trees of the genus Prunus (which includes cherry, apricot, peach, plum, nectarine and almond trees). Be sure to avoid pine, poplar, cottonwood and willow, as all of these are not ideal for making your own functional bow. (Related: Here are five survival techniques that you need to know when society breaks into chaos.)
Crafting your stave

It goes without saying that you want your bow stave to be straight and free of knots and large branches. For a typical survival bow, the diameter should be about two inches thick, including the bark, where the hand grip will be in the center. You want the length of the bow itself to be roughly four feet, but obviously it can be longer or shorter than that depending on the height of the archer.
To avoid cracks developing on the ends of the limbs, make sure that you saw the stave clear through rather than breaking it. One technique that you can use to avoid having the ends of the limbs dry out is to place a plastic bag over them and secure them in place with rope or twine. You might find that this may actually be an essential step rather than simply just a suggestion, especially considering the fact that primitive bows are much more likely to break than commercial bows.
Setting the recurve
Once you have you stave properly shaped and free of knots, it’s time to set the recurve. This is actually a simple process, and requires you to do nothing more than heat the tips over coals, bend them over a round rock and then let them cool into place. The end result will be a hardened yet curved bow that will be durable enough for you to use when hunting or in self-defense. (Related: Here are thirteen skills to learn now for survival later.)
Bowstring
A bow isn’t really a bow unless it has a string connecting one tip to the other. Note that the heavier the string is, the more slowly your arrow will shoot, meaning that if you are looking for maximum effects, you’re going to want to use string that is relatively lightweight yet durable and strong. As noted by OffTheGridNews.com, some materials that you can use for your bowstring include nylon rope, rawhide, twine and sinew. Once you have attached the bowstring to each end of the bow, you are ready to start a process known as tillering, whereby you “carefully remove wood bit by bit while testing for stiff points throughout the length of each limb,” according to Off The Grid News. “Continue to follow the process of flexing your bow, then removing wood a little at a time, then flexing it again until you have created a bow that bends equally and uniformly throughout its length.”
Sources include:
Submit a correction >>
This article may contain statements that reflect the opinion of the author
Advertisement
Advertisements


