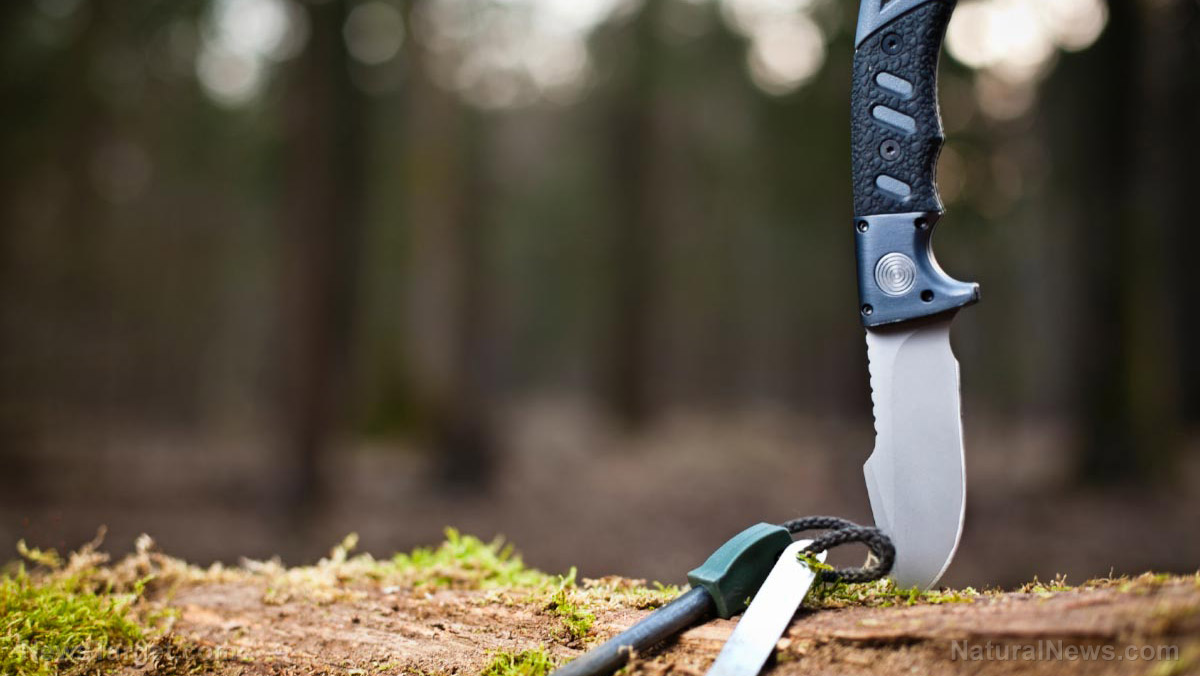
A utility knife is a must-have tool in your survival kit or bugout bag (BOB). You will need it to gut fish, cut rope, build shelter and even signal for help if the blade reflects light well.
However, a dull utility knife is about as useful as a fork in a survival scenario. Therefore, it is important to keep your knife sharp and as close to peak condition as possible. To do that, you will need a sharpening stone.
Read on to learn about sharpening stones and how to use them. (h/t to BackdoorSurvival.com)
Types of sharpening stones
A sharpening stone, or a whetstone, is used to sharpen the edges of cutting tools, such as knives, scissors, hand scrapers and the like, through grinding and honing. Cutting stones come in a wide range of shapes, sizes and material compositions. Here are three examples of sharpening stones:
1. Water stone
A water stone is the most affordable sharpening stone. Before each use, you need to pour water over this stone. The abrasive nature of the stone files the blade, and the water becomes the swarf – material removed by a cutting or a grinding tool. A water stone is especially effective for fast swipes and quick sharpening.
The only con to water stones is they break down faster than other sharpening stones. You might need to keep a few on hand if you frequently use cutting tools and implements on your homestead.
2. Oil stone
The oil stone is the go-to sharpening tool for most preppers, and for good reason. For starters, it is usually made of aluminum oxide, which is hard and wear-resistant. However, it is a slower cutting stone, meaning you will get better results from slower swipes across the stone when sharpening your knife and other cutting tools.
3. Diamond stone
Naturally, a diamond sharpening stone is the most expensive cutting stone. To make this stone, manufacturers use industrial diamonds. They don't look like the diamonds used in jewelry, but they are just as hard. A diamond stone is a fast-cutting stone that will make quick work of even the dullest blade.
How to use a sharpening stone
Once you have chosen the right sharpening stone for your needs, it's time to actually use it. Follow this step-by-step guide to using a sharpening stone properly:
1. Prepare a damp kitchen towel or rag.
Before you get down to sharpening your cutting tool, place a damp kitchen towel or rag on your bench, table or workstation. The damp towel or rag will keep the sharpening stone in place so that it doesn't move once you start swiping your blade across it. An unstable sharpening stone can put you at risk of accidentally cutting yourself with your blade.
2. Place your sharpening stone on the towel or rag.
Carefully position your sharpening stone on the damp towel or rag. Make sure no part of the stone is skewed or off-balance. You should also prep your stone at this point. If you're using a water stone, pour a tablespoon of water over the stone. If you're using an oil stone, pour a bit of oil onto the stone and spread it with your fingers.
3. Find a 20-degree angle.
The 20-degree angle lends itself to most blades and makes for efficient sharpening. However, you don't need to use a protractor or another angled device to make sure your angle is exact.
To approximate the 20-degree angle, start by placing the point of your knife straight down onto the stone. Your knife's handle should be pointing directly at the ceiling. At this point, your knife is at a 90-degree angle with the stone. Bring the blade about halfway closer to the stone. The knife's handle should be pointing at the top of the wall in the room, just where it meets the ceiling. At this point, the knife is at a 45-degree angle with your sharpening stone.
Bring your blade halfway closer to the stone again. At this point, your knife should be at a 20-degree angle with the sharpening stone.
4. Sharpen your knife at a 20-degree angle.
Maintain the 20-degree angle you just measured as you swipe your knife back and forth across the stone. Make sure to grip the handle of your knife or cutting tool with one hand and place the fingers of your other hand on its spine. Drive the edge of the blade across the stone with force. Flip the blade and repeat on the other side.
Make sure the blade is pointing away from you. It's nearly impossible to get cut when a blade is facing away.
After several swipes across the stone on both sides, you can move to a finer grit sharpening stone if you feel the blade needs more work. If you're satisfied with the blade, wipe it down with a rag and check the edge.
5. Test your blade.
Test your newly sharpened blade by slicing paper or shaving the hair from your arm. If your blade can easily do these things, then it's definitely sharp. If it isn't that sharp yet, go back to the sharpening stone and give the blade a few more swipes.
To keep your knife and other cutting tools sharp for long periods, always wipe them down after each use with a clean rag. Only use your cutting tools as intended, meaning don't try to use them to pry things open or to turn screws. Keep your cutting tools covered when not in use or when in storage. (Related: 22 Must-have prepper tools for your survival bag.)
For more prepping tips and tricks, go to Preparedness.news.
Sources include:
Please contact us for more information.


