


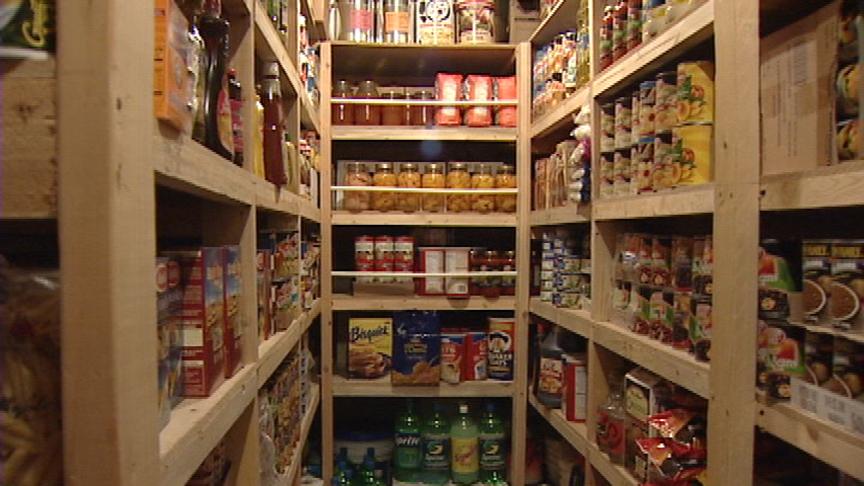
Preppers know that they need to stockpile enough food before SHTF to keep their family fed for a long-term survival scenario.

If you're a newbie prepper, you can start your own food supply by learning how to make DIY meals, ready-to-eat (MREs) or pemmican. (h/t to PreppersWill.com)
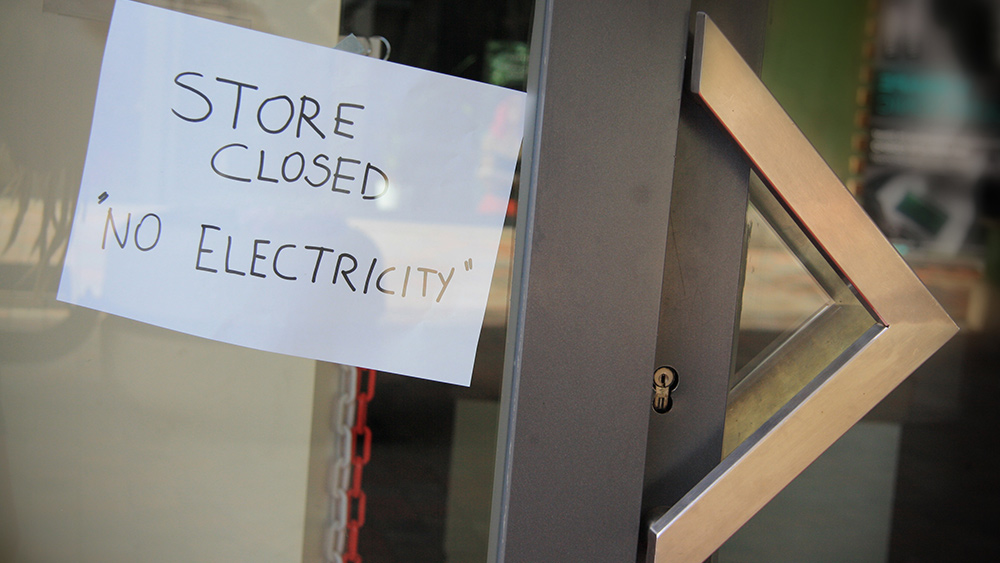
The point of prepping is not to panic or become a hermit. As a prepper, you are preparing for common survival scenarios like a long-term power outage in your neighborhood.
Survival preparedness teaches you how to be self-sufficient so you can survive after SHTF without having to rely on others. When stocking up on food, it's best to purchase non-perishable foods in bulk and items that you can use to make various food kits.
DIY MREs
MREs have a long shelf life, making them a popular choice among preppers. However, store-bought MREs can be expensive, which might discourage preppers on a tight budget. Some MRE kits can cost about $160 for only 12 meals.
To save money, make your own MREs and invest in a vacuum sealer.
When making DIY MREs, maintain a calorie count of about one thousand calories per meal. Avoid using ingredients like dairy products, fatty foods or fruits as they tend to go bad quickly.
Your MREs need to have the right blend of carbohydrates, proteins and minerals because these components are essential for a complete meal. Make different MRE combinations so you and your family don't get tired of eating the same meals when you're dealing with a long-term survival scenario.
If you think making MREs is a cost-efficient way of adding food to your stockpile, invest in items like a dehydrator, Mylar bags, a quality vacuum sealer and desiccants like silica gel or oxygen absorbers.
Here are some items you can include in your DIY MREs:
- Instant noodles/ramen and freeze-dried vegetables
- Powdered cocoa and milk
- Granola and energy bars
- Packets of sugar, salt and pepper for seasoning
Try these DIY MRE food combinations:
Breakfast MRE:
- Cinnamon
- Dried apples and bananas
- Oats
- Powdered milk
- Sugar
Steak and mashed potatoes MRE:
- Mashed potato flakes
- Dehydrated spinach
- Dehydrated turnip or celery root powder
- Freeze-dried steak or dehydrated beef jerky
- Salt and pepper for seasoning
Tomato and chicken soup MRE:
- Dried noodles
- Dried tomatoes, carrots and peppers (Blended into powder.)
- Freeze-dried chicken bits
- Herbs and spices
- Powdered milk
- Salt and pepper packets
Pemmican, an ancient survival food
Pemmican is a form of dried meat similar to beef jerky. It's traditionally made from bison, but you can make pemmican with deer or elk meat dried in a food dehydrator and stored in a vacuum-sealed bag.
You don't need to break the bank to make pemmican. The food dehydrator and vacuum sealer you'll need for DIY MREs can also be used to make pemmican.
Pemmican recipe
Pemmican is a great survival food because it's calorie-dense and easy to make.
You can buy tallow or make it at home using a slow cooker. Put the fat into the slow cooker, put it on the Low temperature setting and let it render for several hours. The tallow is done when the fat is liquid with crispy chunks floating on top.
Dry the meat using a food dehydrator before proceeding to the steps below.
Ingredients:
- Red meat – Use game meat or beef. Five pounds of meat will make one pound of dried meat.
- Fat or suet – Suet must be rendered into tallow. Use a 1:6 ratio of fat and dried meat.
- Salt – One teaspoon of salt per pound of meat.
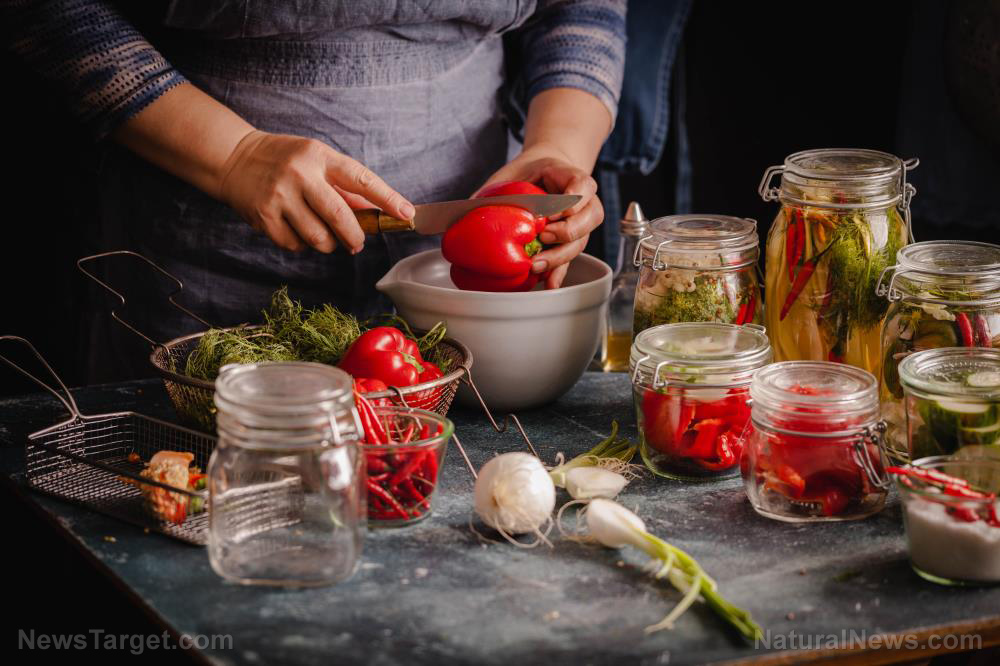
- Optional – Dried berries, herbs, honey or spices.
Preparation:
- Trim the fat from the meat. Make sure there's no fat on the meat when you dry it.
- Salt the meat to prevent bacteria growth and make the pemmican taste better.
- After the meat is dried, turn it into a powder. Use a meat grinder, blender or food processor. The final product must be almost a powder with no big chunks in it.
- Turn the berries into a powder using the same method as the meat.
- Combine the powdered meat and powdered berries together.
- Heat the fat until it liquefies.
- Pour the liquefied fat over the powdered meat and berry mixture. The ratio of fat to dried mixture is about 1:6.
- Let the mixture cool and form into balls or bars.
- Wrap in wax paper or plastic bags before storing them in your stockpile.
Making a shelf life list
When you're done making MREs or pemmican, create a shelf life list of every item in your food stockpile. Doing this ensures that you stay organized.
A shelf life list also helps prevent food waste since not everything in your food stockpile will last indefinitely. (Related: Food storage tips: How to store canned foods safely.)
List the items by time categories of six months, one year and indefinite to keep your list organized:
- Six months – This includes items like cereal, crackers, dried fruit, powdered milk and potatoes.
- One year – For these items, you need to check the expiration date and plan on consumption before that date. This category will probably make up the bulk of your supplies, like canned fruits and vegetables, along with items like peanut butter, jams and jelly.
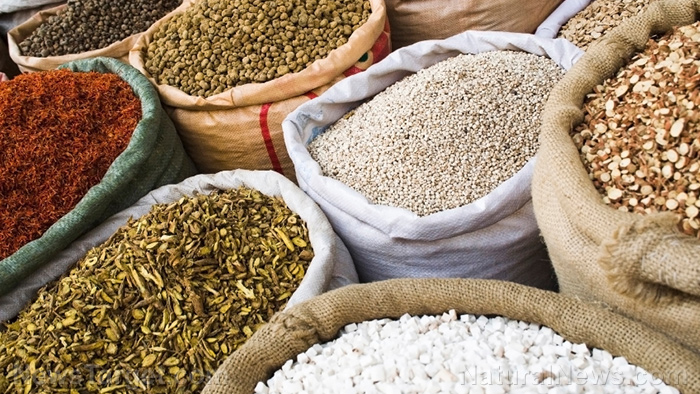
- Indefinite – Even items in this category won't last long if not stored in proper containers and under the right conditions. This category includes items like baking powder, flour, grains, pasta, rice and wheat. Coffee and tea also fall into this category.
When storing food products with an indefinite shelf life, you must use the right containers and store them in the right conditions. Protect your supplies from air, critters, bugs and moisture.
Practice food stock rotation
Rotating your food and water supply ensures that even if you don't need to use them in a survival scenario, they won't go to waste.
Regularly check and rotate the food and water in your stockpile and replace all the items that you use up. Check and refresh water when necessary.
Whether you choose to try making MREs or pemmican, prepping means taking one step closer to self-sufficiency. Prepping costs time and money, but these small sacrifices help ensure that you're ready for whatever comes your way, whether it's a week-long power outage or a natural disaster that leaves you holed up at home.
No one can predict the future, but being a prepper means you can at least control what you'll be eating and drinking when SHTF.
Follow FoodStorage.news for more articles related to food preservation and storage.
Sources include:


Please contact us for more information.