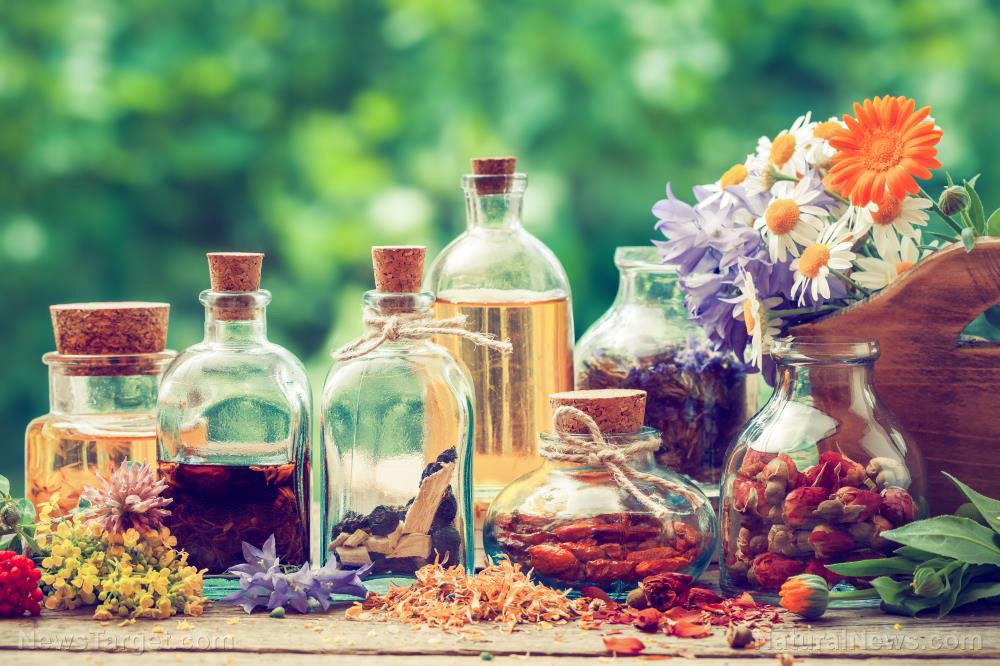
Homesteaders have many skills, such as gardening and making herbal remedies using various plants and herbs. And as you accumulate various remedies and tonics in your natural medicine cabinet, you need to keep your ingredients and cures organized so you can easily find what you need when you need it. (h/t to TheGrowNetwork.com)
Here are several reasons to label your homemade herbal remedies.
Dried herbs are hard to identify
Drying doesn't just preserve herbs, it also helps transform certain plants that may be unusable while fresh, like stinging nettle that can cause itching.
Labeling your herbs ensures that you don't get them mixed up.
Without labels, you can confuse dried stinging nettle leaves for dried wood nettle (Laportea canadensis) and purple deadnettle (Lamium purpureum). While these three plants have medicinal benefits, it's best not to use them interchangeably.
You can't always tell what something is by its smell
Once dried, the aroma of herbs mellow while others intensify. For example, lavender, rosemary, sage, thyme and tulsi (holy basil) become more pungent when dried.
The smell of herbs like fresh parsley, lemon balm and lovage become milder once dried.
It saves time
By labeling your medicinal herbs, you save time when gathering ingredients for a poultice or a tonic.
Ways to label your herbal remedies
Use these four methods to label and organize your medicinal herbs.
Harvest labels
After harvesting your herbs, write the name of the plant and the date it was harvested on a scrap of paper. This information will be useful when you need to identify herbs and for calculating “use by” dates for later preparations.
Secure the label using clips or clothespins.
Single-ingredient labels
Once the harvested herbs are dry, transfer them to air-tight containers for long-term storage. When using glass jars, write directly on the glass using a marker.
If you're reusing containers, simply scrub off the labels on your glass jars. When making single-ingredient labels, indicate the name of the herb and the date harvested.
Indicate information like expiration dates and which remedies can be used as a poultice or as a salve. If you're living with children, keep non-edible herbs out of reach in locked cabinets.
"Medicine in the making" labels
Different extraction and preparation procedures are used to process different herbs. While tinctures can take weeks to make, syrups can be made seasonally and stored until needed.
Use interim labels to identify each product until you are ready to combine them for syrups and other remedies.
When storing your ingredients in glass containers, use a marker to write on the jar. For pottery or other containers, use a scrap of paper and a clothespin or a strip of masking tape.
Final product label
The “product label” will help you identify your final product once you're done processing your home remedies.
If you don't want to ruin reusable jars by using paste and paper labels, write on card stock and cover it with clear packing tape. Use a hole punch and twine to attach card to the container.
Considerations when labeling herbal remedies
When gifting or selling your remedies, indicate information like dosage and warnings on the labels.
Dosage and usage recommendations
This is essential for remedies like an immune-boosting tonic that can be taken in small quantities daily since you may also need to use it in higher quantities if you're already sick and want to get better faster. Include details like how to use a remedy and how much to use.
Catchphrases
Use shorthand descriptions or catchphrases that indicate the usefulness of a remedy, such as:
- “Energizing”
- “Immune-boosting”
- “Memory-boosting
- “Stress management”
“Do not use” info
While herbal remedies are generally safe to use, certain ingredients aren't recommended for children or pregnant women. It is important to label your remedies accordingly to avoid unwanted side effects.
Date made
Indicating the date you made an herbal remedy ensures that you use it up before it goes bad in your medicine cabinet.
Use labels to organize your dried herbs and home remedies and to save time when preparing natural cures.
Sources include:
Please contact us for more information.


