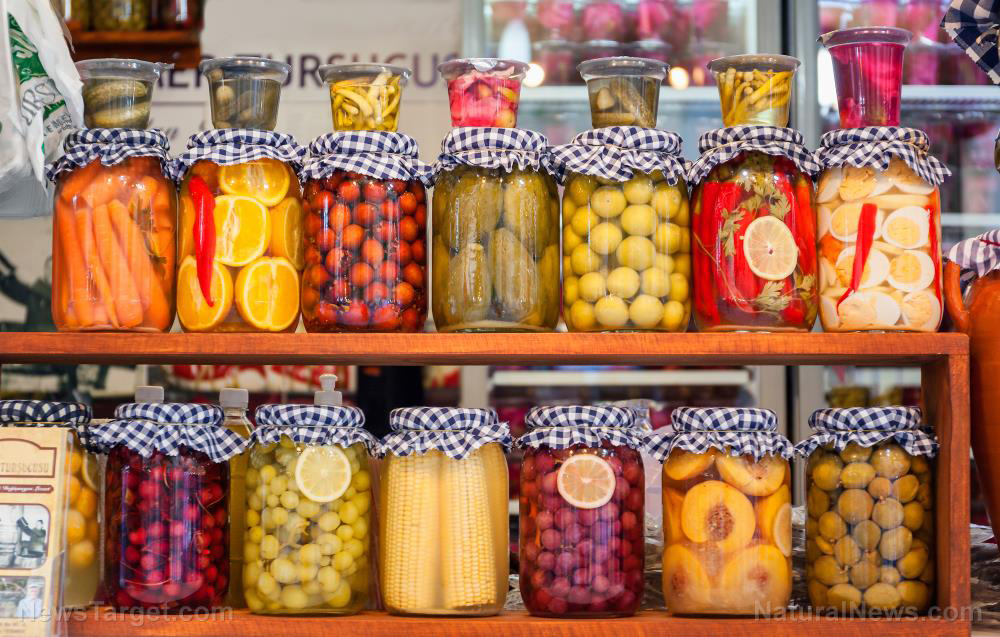
Have you noticed that the nutrition labels on your favorite fruits, vegetables, and other commercially preserved foods often contain sodium and different artificial preservatives? This is why home preserving, which a more natural way of storing food, is once again becoming popular.
Judy Price, who was recently featured on "Out Here," Tractor Supply's free quarterly lifestyle and how-to magazine, shared that using information and tools available today, you can successfully preserve almost any kind of food.
The key to safe home canning is killing the bacteria in canned food that may cause botulism. In the video, which was uploaded by Brighteon user SHTFprepping101, Price, a Cornell University expert and teacher on food preservation, demonstrates two kinds of canning methods: pressure canning and boiling water canning.
View the full Brighteon.com video here:
Home canning tips
Pressure canning
It's better to prepare all your tools before you start canning so you have everything you need within reach.
Low-acid foods, which include most vegetables like green beans, don't contain enough acid to prevent the growth of bacteria. Higher temperatures, about twice as hot as the boiling point of water, are required to kill bacteria. This is done via pressure canning.
However, the pressure in a pressure canner isn't what destroys the bacteria. Instead, the high temperatures it creates for a prolonged period of time kill dangerous bacteria.
Other low-acid vegetables that you can preserve include asparagus, beets, carrots, okra, and potatoes.
Ingredients:
- Green beans
- Salt (optional)
Tools:
- Jar lids
- Jar lifter
- Jar rings
- Mat (for the hot pot)
- Small pot (to boil and sterilize the jar lids and rings)
- Clean towel (for drying the jars)
- Magnet wand (to retrieve the lids from the pot)
- Plastic knife
- Pressure canner
Steps:
- Thoroughly rinse the green beans.
- Prepare the green beans. Use a knife to cut off the ends. Break each pod in several pieces until they're small enough to fit in the jars. Cook the beans to prepare them for hot packing.
- Warm the jars so they're ready when you fill them with beans. Place the jars in the canner at a low temperature.
- Fill the jars with cooked beans, then use the plastic knife to bubble them or release any trapped air that may prevent the pressure canner from creating a vacuum seal. Leave one inch of space between the lid and the food. This "headspace" gives the food room to expand as the jars are processed. Place the lids on top of the jars and hold it in place with the jar rings. Turn the rings until it stops, then give it one more twist. Put the finished jar of beans in the canner.
- Put the jars in the canner.
- "Evacuate" steam from the canner. This means waiting until you have a good cone of steaming coming out of the vent port.
- Close the vent port. At this point, the pressure will start to build inside the canner, creating temperatures way above boiling point. Watch the canner and adjust the stove burner so pressure applies slowly and evenly. Once the appropriate pressure is reached, set your timer for the correct processing time. This will depend on your altitude and what you're canning.
- Let the canner naturally cool so the pressure comes down to zero then remove the closure. Wait 10 more minutes before removing the lid of the pressure canner. Loosen the lid, then carefully lift it open away from you so the steam doesn't burn your face.
- Don't tip the jars as you lift them out of the canner. Lift them straight up so the jars seal correctly.
- Let the jars sit in the counter overnight to allow them to seal.
- Once you're ready to store the newly-canned food, label them and remove the rings, leaving only the sealed lids. Rings may leave moisture and debris under them, which will create rust and mold. Rings should be used only during the canning process.
Boiling water canning
High-acid foods, which are anything you've pickled by adding vinegar (e.g., salsa), contain enough acid to prevent the growth of botulinum bacteria, particularly when they're heated.
High-acid foods can be processed in a boiling water canner instead of a pressure canner. The acidity, combined with the heat, will kill bacteria.
To make the salsa, use fresh vegetables of your choice such as onions, green bell peppers, and tomatoes. (Related: An essential guide to canning: What you need and how to get started.)
Tools:
- Jar lids
- Jar lifter
- Jar rings
- Small pot (to boil and sterilize the jar lids and rings)
- Clean towel (for drying the jars)
- Magnet wand (to retrieve the lids from the pot)
- Boiling water canner
Steps:
- Wash the vegetables under cool running water.
- Prepare the food, jars, and the canner. Dip the tomatoes in boiling water then cold water to make them easier to peel. Place the jars in the canner so they warm up as the water reaches the boiling point. Chop the tomatoes and place them into a separate pot. Heat the tomatoes as rapidly as possible.
- Cook the salsa for 10 minutes at a nice, gentle boil.
- Fill the jars with the cooked salsa. Ladle the salsa into the jars, and make sure to get an even distribution of the solids and the liquids. Since the jars will be placed in a boiling water canner, leave a headspace of about one and a half inches.
- Place the jar in the canner, which must have water that is boiling gently. Set the timer for 15 minutes. The time for processing salsa may be more than 15 minutes depending on the altitude in your area.
- Remove the jars from the canner.
- Don't tip the jars as you lift them out of the canner. Lift them straight up.
- Let the jars sit in the counter overnight so they seal properly.
- Label the jars then remove the rings.
Watch the full home canning guide by watching the video, which you can view at this link.
You can read more articles with tips on home canning at FoodSupply.news.
Sources include:
Please contact us for more information.


