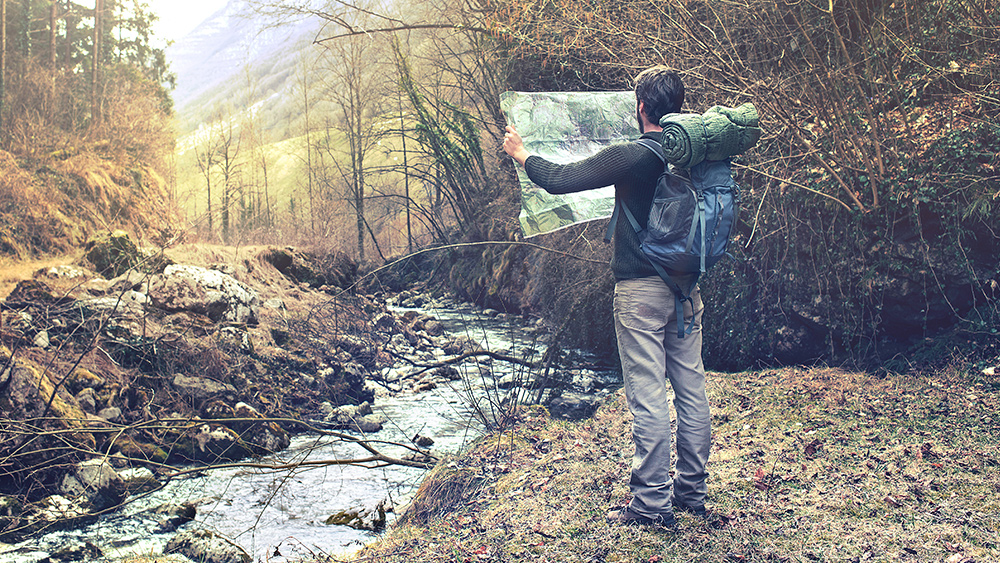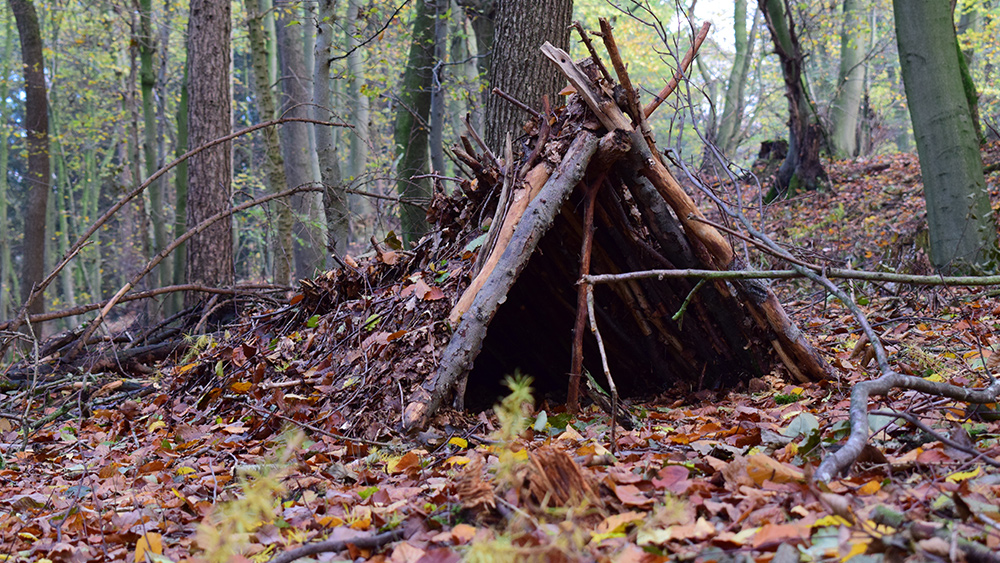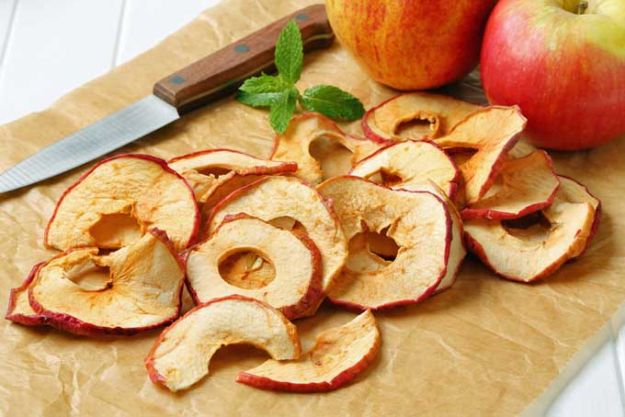
When prepping your bugout bag (BOB), one important thing to consider is your food supply. If you're worried about your supplies taking up too much space in your BOB, try making dried food. You can also bring dried food if you're going camping or hiking. Instead of bringing junk food, choose dried food that you can make right at home. Dehydrating your own food ensures that you're making them from high-quality produce.
The process takes some getting used to, but in time you'll figure out how to make your own dried food after some trial and error. Below are some tips that you can follow when you're making your own dried food. (h/t to PreppersWill.com.)
- Choose ripe fruits and mature vegetables – Dehydrating food helps retain its original flavor and nutritional content even when the juices are removed. But this is only possible if you use ripe fruits or mature vegetables. Fruits that can be dried include apples, bananas, blackberries, figs, papayas, pears, and strawberries. For vegetables, you can dehydrate carrots, mushrooms, onions, or tomatoes.
- Prepare the food properly – Food preparation is done before the dehydration process begins, and it involves cleaning and slicing the produce into smaller pieces. Other foods may need to be cooked before dehydrating. Slice and prepare fruits and vegetables separately. They also need to be dried in separate dehydrator trays. Leafy greens, like kale and spinach, must de-stemmed before seasoning.
- Know what kinds of meat can be dehydrated – When dehydrating meat, choose cuts wisely. You can dry meats like beef, chicken, mutton, or pork. Pick your protein, then either mince it or slice it thinly. The smaller the meat is, the easier it is to dry. (Related: A guide to making dried food without a food dehydrator.)
- Make the layers as thin as possible – When placing food on dehydrator trays, make the layers as thin as possible. Don't make the food overlap because this will hinder the circulation of dry, warm air. Thick layers of food can slow the dehydration process and affect the final results. Overlapping layers can also result in moisture retention that can cause mold growth. To avoid this, spread the food evenly.
- Don't rush the process – Drying food can take as long as seven hours, and the process must never be rushed. Plan ahead if you want to bring dried food to a camping trip. Keep your dehydrator in a dry and warm place away from windows and air vents. It's okay to have over-dried food instead of taking shortcuts. Do not increase the temperature to hasten the drying process because this may also cause moisture retention. The time required for drying food will be determined by things like humidity, indoor air condition, and wind drafts.
- Use the right temperature setting – Follow instructions when dehydrating food. Check the manual that comes with your food dehydrator to determine the proper settings for different kinds of food.
- Dehydrate at least 95 percent of the food – Dehydrating food to at least 95 percent means you can store it longer. This will also keep mold away. When drying food, the finished product shouldn't feel soft, spongy, or sticky. If the food is still moist, take it back to the dehydrator. When dried food is ready, it should break easily or be crunchy.
- Store dried food properly – Storage is just as crucial as the food drying process. Do not leave containers of dried food open for a long time. Pack dried food in small containers so it can be consumed all at once. Keep track of daily humidity levels to determine how long you can store dried food.
Before you purchase a food dehydrator, check out different models to see which size and features will suit your food preserving needs. When dehydrating food, let the dehydrator run for a couple of minutes before you start the process so the machine can warm up and reach the desired temperature levels.
Try dehydrating food at home to make healthy snacks if you're bugging out or going on outdoor trips.
Read more articles with tips on how to dehydrate food at FoodSupply.news.
Sources include:
Please contact us for more information.


