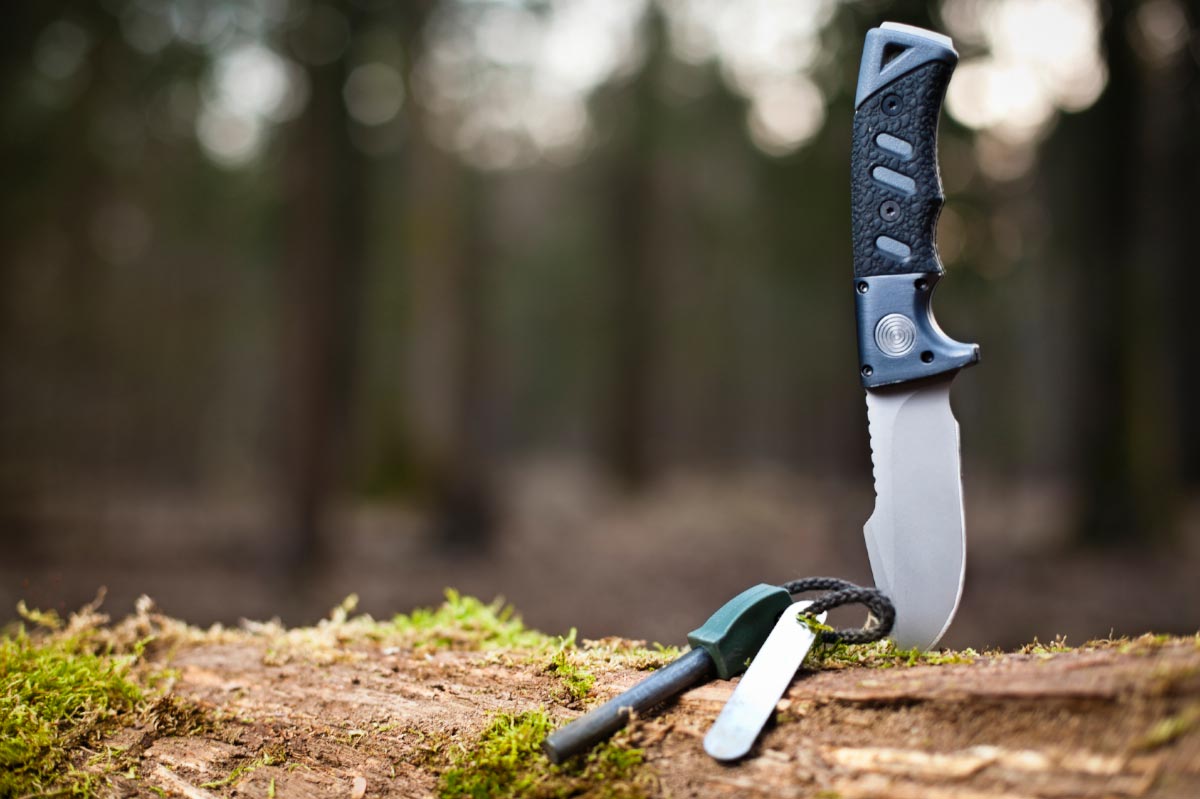
One of the subjects missing in public schools is bush craft and survival skills. National Parks, State Forests, and privately-owned campgrounds are like real life textbooks just waiting to be explored. If your school district or home school practice hasn’t made room for bush craft, it’s time to start practicing fun wilderness projects with your kids to increase their survival skills. Aside from some basic first aid skills, here are a few other survival skills to teach your children.
How to build signal fires
If your child is separated from you and becomes lost in the woods, they will need to know how to make a signal fire. The international signal for distress is indicated by the number three, whether it be three blasts from a gun, three whistles, or three signal fires.
For this exercise, students will need to know how to look for dry tender, how to start a fire using friction and oxygen, and how to make the fire create large columns of visible smoke. In this exercise, you can practice with magnesium fire starters, matches, magnifying glass, fuels, or old fashioned friction methods. The students will need to differentiate between dry tender and smoke-generating branches. Dry tender helps start the fire, and living tree branches with green leaves help create large bouts of smoke. Rescue teams need to be able to see three columns of smoke, so timing and spacing of the signal fires is important.
Keeping warm and making shelters
If your child is lost in the forest, they will need to learn how to keep warm and prepare for an overnight stay in the woods. They should be able to recognize natural wind breaks in the land to minimize the wind chill factor. They will also need to locate areas where they can utilize fallen branches to make debris huts.
Depending on the time of year, the ground can become very cold at night. This cold ground can suck away body heat quickly through the night. A basic framework of sticks and a bed of leaves or pine needles can provide a makeshift bed to keep them off the ground. Larger branches can be lent up against fallen logs to create a wind break. There are many fun ways to make shelters, so experiment and allow them to use their imagination. Use the natural forks in trees to secure branches and create a framework for a fort.
Making cordage for survival use
Survival bracelets, made from parachute cord, can come in handy if your child goes missing. This cordage is useful for tying together rafts, making traps, bundling and carrying firewood, pulling heavy objects, and building shelters. There are many fun ways to use cordage and practice for survival. To prepare for a situation where there is no cordage available, practice making natural cordage out of tall grasses.
First, they'll need to gather a large bundle of grass, each strand three to four feet tall in length. To start, put three strands of grass together and tie them off on a tree branch together as one. Then, braid another three strands to the first set. To maintain the cord’s strength, braid each new strand at differing lengths. Don’t start a new piece of grass just where another ends. Stagger the ends to prevent weak spots. Finish by braiding a third set of grasses to create a standard three braid cord. Repeat, to desired length. Wrap the ends with grass strands and tie a knot. Even as the grass dries, it will retain its strength.
The bush craft skills your children learn now could ultimately be used to save their life, so practice survival skills and prepare your children. Real life skills are more important than regurgitated factoids and letter grades. (For more, visit Homesteading.News.)
Sources include:
Please contact us for more information.


