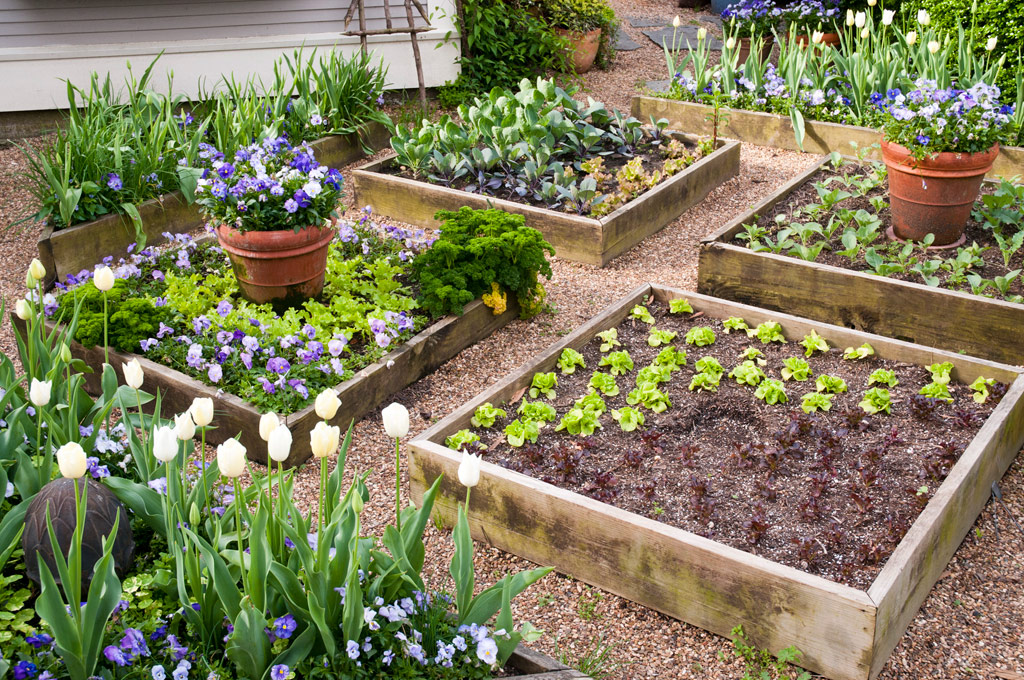
(Homesteading.news) To make the most of your garden space, or to convert unused land into something more productive, one way to accomplish that is to build raised garden beds, which can be far easier to plant and tend.
A raised garden bed is basically a large planting box. Raised garden beds are often referred to as garden boxes and they are highly recommendable for cultivating small portions of flowers and vegetables because they usually prevent soil erosion, provide good drainage, keep off pathway weed from your garden soil and also block pests such as snails and slugs from getting into your garden as well.
Apart from that, raised garden beds are also highly beneficial to the elderly and anyone who has back problems because they cut down on back strain especially when one is cultivating the bed. Herein is a step by step guide on building raised garden beds.
Step 1: Determine its size.
Start by establishing how big you want your planting box to be, and then mark it off. If you are not certain of the size, you can then start with a four by four foot square measurement since this distance allows you to be able to reach the middle of your garden bed from both sides of the box without much struggle. When this is done, you can then proceed to flatten the ground using a rake so that your raised garden bed can lie flat as needed.
STEP 2: Construct Walls
The second step when building raised garden beds is constructing your walls.
Do this by assembling four corner posts, each 1 foot long made of 4 by 4’s, eight four foot long side rail posts of 2 by 6’s, and four two foot long center stakes made with 2 by 2’s.
Put the 4 by 4’s posts in position at every corner of your box, choose the wall you want to start with and nail the first 2 by 6’s so as to join the corners. After doing this, connect the second two by six boards on top of the first and make sure that the corners are uniform with the sides of the post by using an angle square.
STEP 3: Join the Walls
After constructing all the walls, you will have to join them accurately as required. Do this by ensuring that the side walls are in an upright position facing each other and the posts are on the outside; then fix the two side rails to the posts from the remaining walls of your raised garden bed. Do not forget to make sure that the ends of the rails and those of the posts are even during this process.
STEP 4: Adjust your garden box into a square shape
As soon as you are done with joining the walls, square up your garden box by taking measurements diagonally from both directions across the planting box. This is usually done so as to make sure that the frame is in a square shape. If you still have doubts about the shape then you will be required to adjust the raised bed to a point where the diagonals are uniform in length.
STEP 5: Secure your planting box
Make your raised garden box strong by getting a two by two stake and putting it in the middle of any of the outside walls. With this done, either dig or hammer it into the ground until the top of the stake is on the same level with the top of the side rails and finally screw the stake to the side rails using strong screws. Make sure that you repeat this process with all the walls of your raised garden box so that you can make it strong as required.
STEP 6: Fill your garden box with soil
The sixth and final step of building a raised garden box is filling it up with soil. Make sure that the soil you use to fill it up is ideal for planting your flowers as well as vegetables too. You can even add organic matter like compost or manure to the soil to make it more fertile and finally water the soil; and there you will have a complete raised garden bed of your own.
Having raised garden beds is usually every gardeners dream because by growing in raised beds you reduce most of the tiresome work that comes along with farming. However, you can get the perfect farming experience by following the above quick and easy step to step guide on building raised garden beds.
Check out this very instructional video:
Homesteading.news is part of the USA Features Media network of sites.
Please contact us for more information.


